 |
| Kris is doing a fine job trimming the Deck posts and Azek. |
 |
| Better than I expected and certainly what I hoped for. |
 |
| Kitchen cabinets - almost complete (missing island and one upper) |
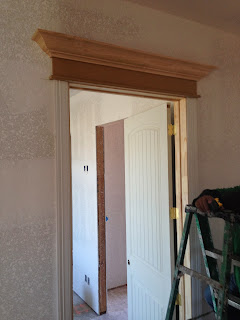 |
| Adding the Crown and Door Trim |
 |
| Yep! The profile of the trim is fitting for 10' ceilings |
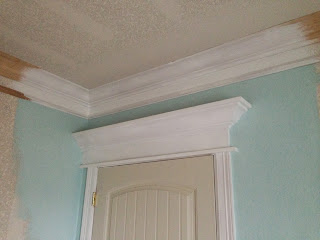 |
| Working out the color selections. |
 |
| A little too much blue for the ceiling but the "F" molding (yes, that is a type of molding and not a vulgar expression) is a great idea and makes the crown look so much larger. |
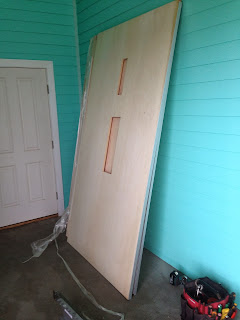 |
| Elevator cab parts. How do you think that install this large box through a small door opening? |
 |
| Elevator rails and motor assembly. Sure glad they know what they're doing! Most definitely not a DIY project! |
 |
| The motor and chain assembly is attached to the top of the rail sections. |
 |
| Porthole installed. The bluish green color is simply the reflection of the paint inside the vestibule on the ground floor. |
 |
| Trim above the door and windows is taking shape. Wainscoting next. |
 |
| MSTR BATH Cabinet bases |
 |
| Southside Exterior view. Note the elevator shaft on the left side of the House. |
 |
| Another Southern view. |
 |
| Living room looking towards the stairwell and the Study is to left. |
 |
| Living room |
 |
| 1 x 6 T&G Knotty Pine stained soffit. Much better than painted cement board soffit. |
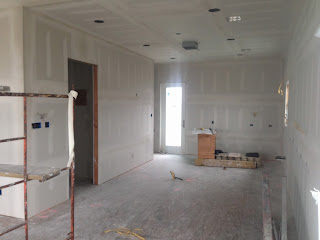 |
| Kitchen and Pantry (door out to rear deck - Bayside) |
 |
| Study (4th BR) looking into Living room and Beachside Windows and 6080 French doors to Front Deck. |
 |
| Study looking into Kitchen (full bath right and Elevator left) |
 |
| View of Dining room from Living room |
 |
| Master bath Shower |
 |
| Master bath vanity area (door to Mstr BR) |
 |
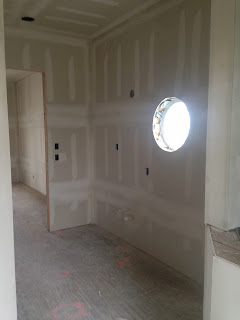
| Standing outside the elevator looking down the hall. BR 3 left, Laundry room end of hall with round window, under stair storage door right. Stairs to main floor right. |
 |
| BR 3 |
 |
| Guest Bath |
 |
| Guest Water Closet |
 |
| BR 2 (Beachside) hall entry left, guest bath (Jack & Jill) right. |
 |
| Laundry |
 |
| Master BR door to bath |
 |
| Master BR entry door, Laundry to right BR 2 across hall. |
 |
| Looking down the Elevator shaft from 3rd floor. Note Porthole Windows. |
|
Drive them babies home!
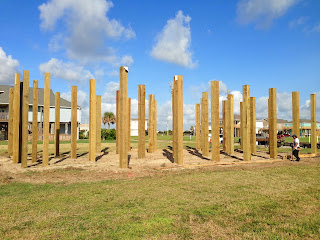 |
| Pilings Set |
 |
| Preparing the foundation |
 |
| Slab poured and waiting on framers |
 |
| Elevator pit or spa? Hum! |
 |
| Preparing the pilings for the Stringer that will support the main structure. |
 |
| Double checking the plans. |
 |
| Stringers and Floor Joist going up. |
 |
| Beach side of house (South) |
 |
| Beach side of house (North) |
 |
| Stringers up |
 |
| 1st Floor Walls View of beach from Master BR. |
 |
| Oh! You wanted 9' walls instead of 10'? Oops! |
 |
| 2 x 6 Exterior wall framing. |
 |
| 1st Floor Bayside Deck |
 |
| Wrap around deck Joist cantilever from structure. |
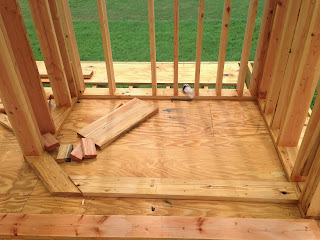 |
| Master Bath Shower. |
 |
| Stair Landing from Ground to 1st Floor in and 18" Web trusses going up between 1st and 2nd floors. |
 |
| Ground floor Garage framing. North side looking toward the bay. |
 |
| Ground floor Garage framing. South side looking toward the bay. |
 |
| Elevator shaft framing...or is the Hot Tube? |
 |
| Bayside of House looking toward the beach (row of houses on the beach). Elevator Shaft framing in and Web trusses almost complete. |
 |
| Another angle (left is Beach side deck - Right is Bay side deck). |
 |
| 2nd story framing taking shape. |
| My Lead Framer waving as his crew complete the scallop siding on the gable walls. |
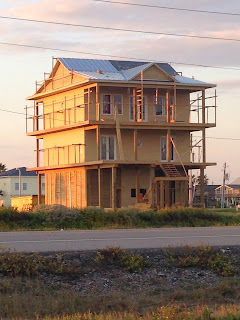 |
| Metal Standing Seam Roof. |
 |
| Thanks to my friend Ernie from OKC for his fine wood working on the Corbels. |
 |
| Hand rails and balusters with post on the inside of the rim joist makes for a clean exterior finish. |
 |
| Hand rails on 3rd floor going up. |
 |
| Sneak peak at the paint color. |
 |
| PVS Post Sleeves and Caps topped with AZEK top rail. Sweet! |
| Web Trusses handle he mechanicals great. |
| Return Air vents in all rooms. |
| No Fart fans here! These babies are 110cfm .3 sones automatic humidity sensing Air Kings! |
| Vaulted Ceiling in Living / dining rooms. |
| Good view of HVAC system. Lennox, 4 Ton, 4 zones, with variable speed air handling. |
| Love the 5/4 x 6 Premium Deck boards used as Louvered Walls. |
| Master Bath Shower plumbing. |
| Guest Bath. |
 |
| Yep! Whole House tank-less water heater complete with inlet particle filter. |